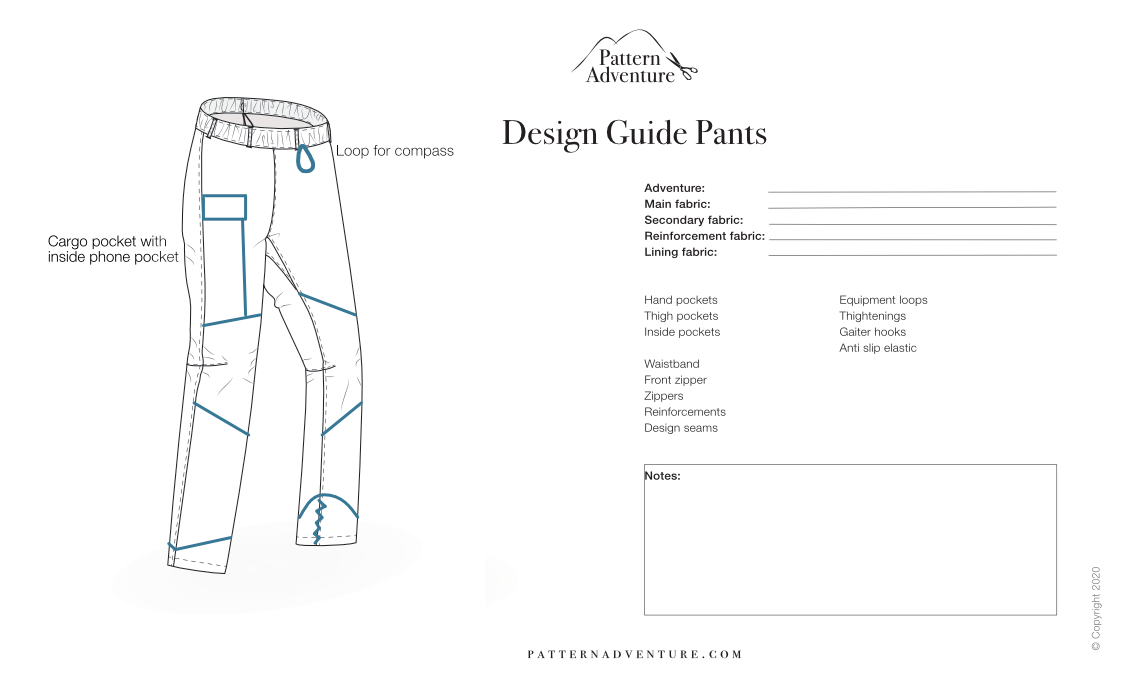
Design your Gear Guide

Sewing Tutorial

Most ideas for outdoor clothing and gear arise during your adventures. This basic design guide will help you get started to turn that idea into reality. 

Get started

  • Many people find a fabric they like first, then look for a suitable pattern, and only at the end think of what they'd like to adjust and add to it. If you turn this process around, you'll have an easier time and more success with your project. That means: think of what you need and like before you start your garment or gear project. Only then look for a pattern design and fabric - you'll nearly always find the tools for your idea. Ideally, you've designed it so well that you won't have any changes while sewing, and you'll fly through the sewing part without any seam undoings, fabric damage, and above all, frustration. Also, when you put your garment or gear into use, everything you've imagined actually works and is practical. This is why spending enough time on the design phase can be very helpful. This basic guide will help you get started on just that.  

Step 1

The Adventure

One of the best ways to start designing is to take notes during your next trip or alternatively, think back on the last trips you took. Try answering the following questions: 

a) What was your last adventure?
b) Was there anything that you needed that was missing or perhaps unnecessary? For example:

 1. Did you feel warm or cool enough?
 2. Did you need more wind- and waterproofness? or 
 3. Did you sweat too much in your garments? 
 4. Was your garment long enough or too long? For example, too long pants
 5. Could you move well, did you have too loose garment or did you feel restricted anywhere?
 6. Did you really need all the extras & features, like all the pockets?
 7. Which features on your garments were particularly useful? 
 8. What features did you miss? For example did you need equipment loops, gaiter or shoelace hooks, anti slip elastic around your hem, or tightenings? 
 9. Did you feel that any part of the garment was too thin, too easily worn, or that you needed extra padding? For example, did you miss any garment reinforcements? 
10. How did the overall weight of the garment feel? For example, was the weight fine or would you have preferred a lighter piece?

Get creative and critical here.

Step 2

Finding Answers

Now you've analysed your current garment or gear in terms of what you need, what was missing, what you liked and disliked. For every problem you've identified in the previous questions, let's start digging a little deeper and see how we can solve those. 

Sometimes finding answers results into even more questions, but don't worry - you're getting closer! Here are some examples of responses to the above questions. 

Q1. Did you feel warm or cool enough?
A: Did you need consistently more warmth and coolness, or was it only occasional? 
    Do you need to dress differently? Can you wear a different base or mid layer for example of moisture wicking or Merino wool?

Q2. Did you need more wind- and waterproofness?
A: What is the level of wind-and waterproofness in your current garment? Often outdoor garments come with small booklets with information on coating, membranes and water columns. Explore the Shell layer tutorial for more information. Knowing your current level will allow you to understand how much more you want.
Can a lightweight rain cover solve this problem? It will keep you dry only when actually needed. It also provides a great cover on the ground for instance while resting. Easy-to-attach-and-remove chaps are also a good solution if you're in wet areas and expect to cross streams.


Q3. Did you sweat too much in your garments? 
A: Is a breathable fabric necessary or would a ventilation hole be enough? 

Q4 & Q5. Was your garment long enough or too long? Could you move well, did you have too loose garment or did you feel restricted anywhere? 
A: Where was it too long or short, and by how much? Did you know that if the back of your pants keep trailing on the ground, you need to shape the garment around your knees differently? Where was the excess fabric or where did you feel restricted, and how severe was it? 

Extras & Features

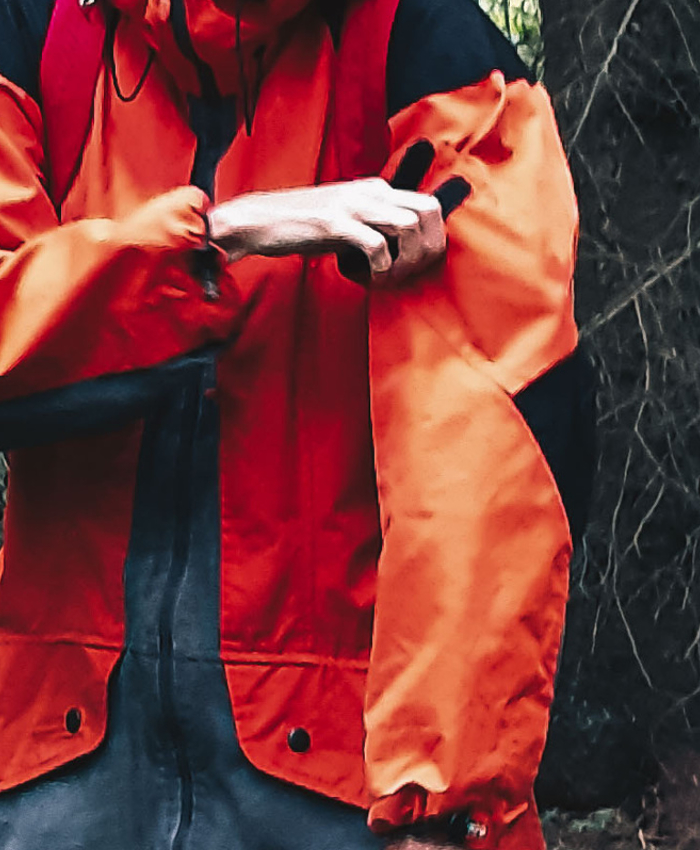
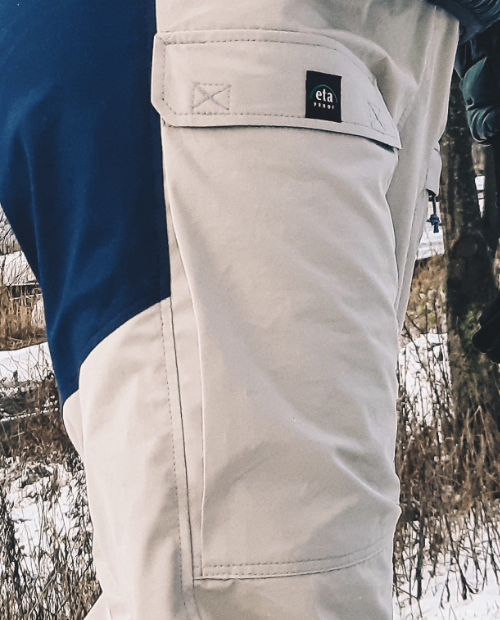
Q 6 - 9. These questions are all related to your extras & features. Question yourself about the functionality of pockets, tightenings, equipment loops, and so on: 
a. are they in the right place?
b. what do you place into which pockets?
c. are they too small or too big?
d. are they easy to access in terms of opening and closing?
e. did you lose anything? 
f. could inside pockets help?
g. which pockets did you not need or use the most?
h. where would you have needed a pocket and for what?
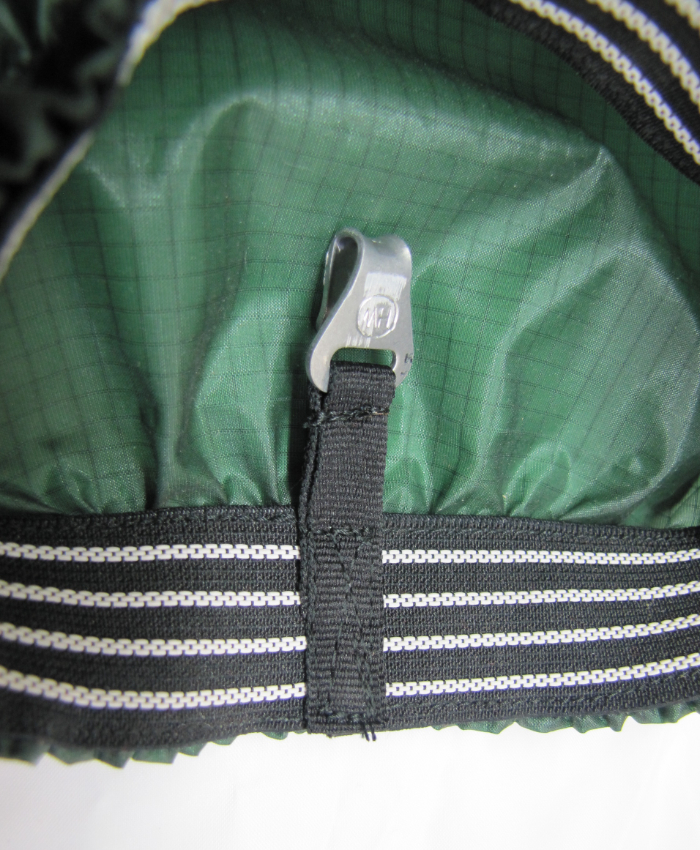
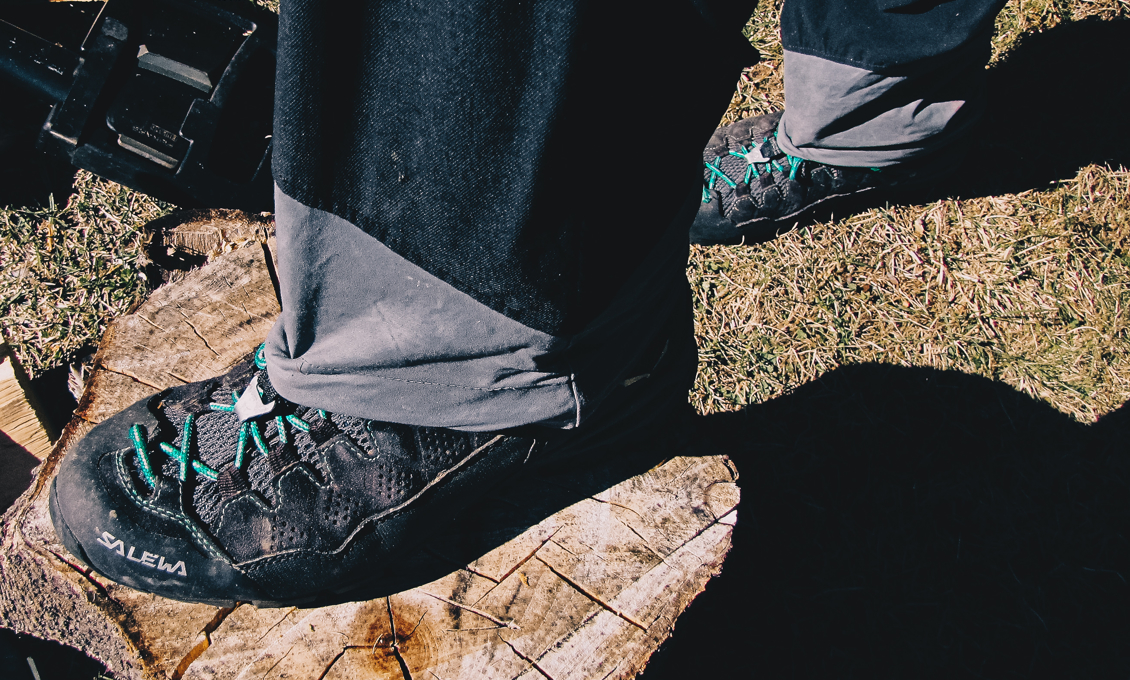
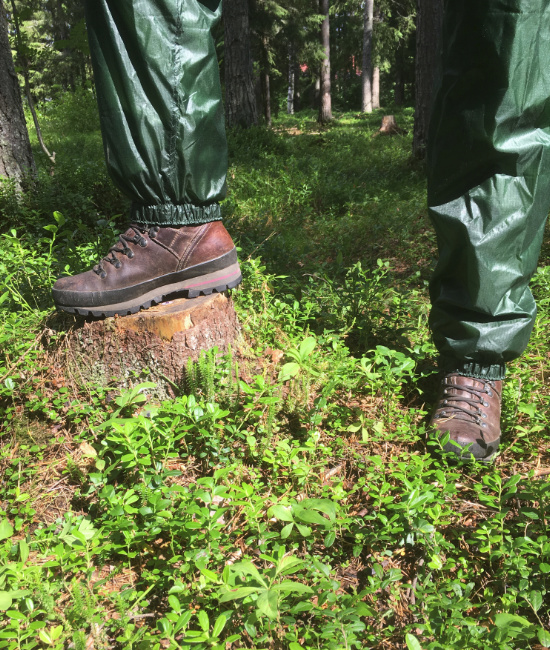
Cords & Loops

Pay close attention to where your cords and loops are, and how long they are when in use. They can be very helpful when used well. For example, gaiter/shoelace hooks allow you to hook your pants to your shoes. But, hanging cords or loops at the wrong places can also put you in danger. For example, if you have a hem tightening with a cord that hangs out, it can get hooked onto roots or rocks. 
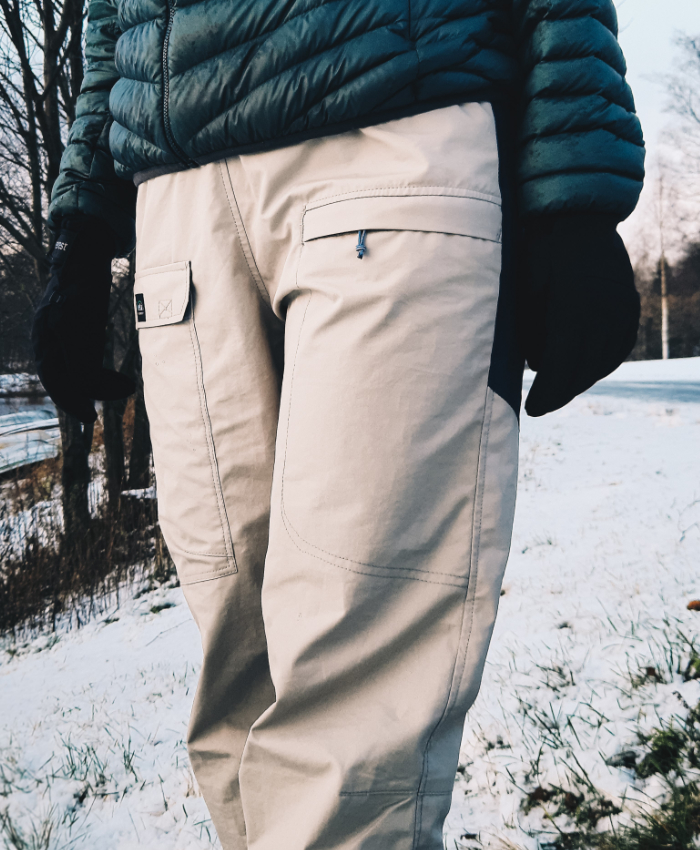
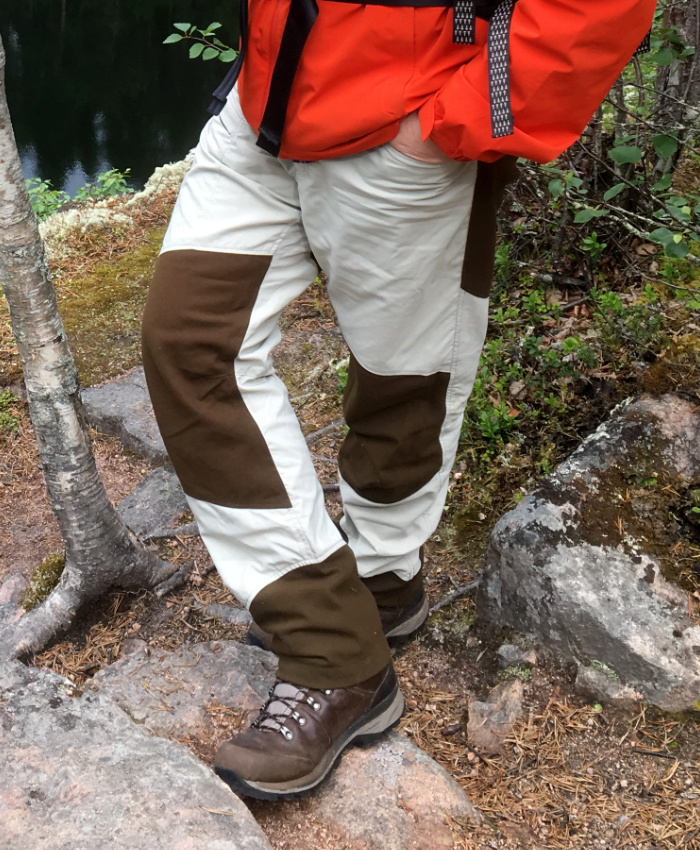
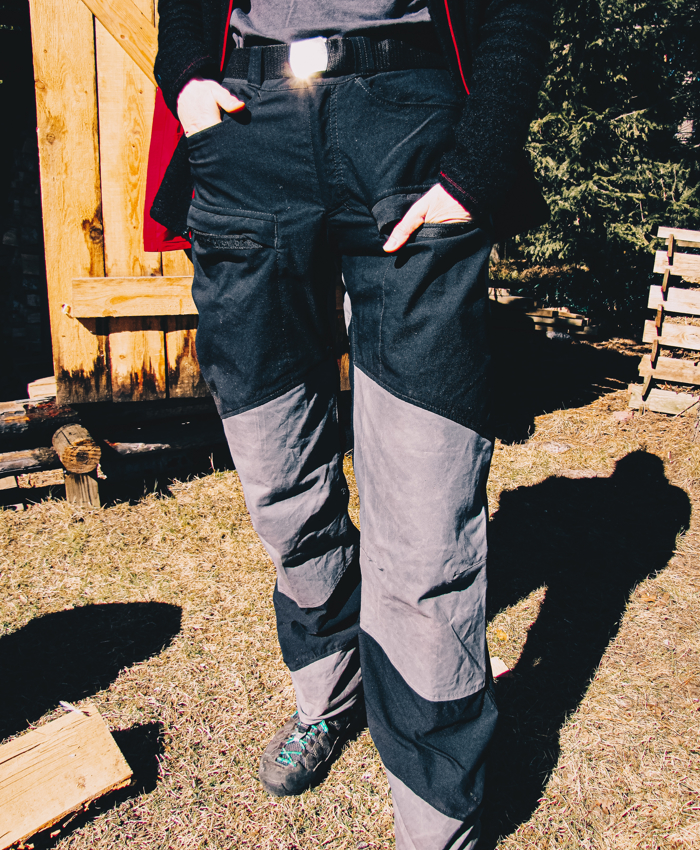
Reinforcements

Also pay close attention to your reinforcements. Reinforcements in the right places, often around your butt or knees, can be helpful. They can help protect your body and can lengthen the life of your garment. However, reinforcements everywhere are also not ideal because the garment becomes heavier, can to a certain extent restrict movement, and reduces breathability of your garment. 
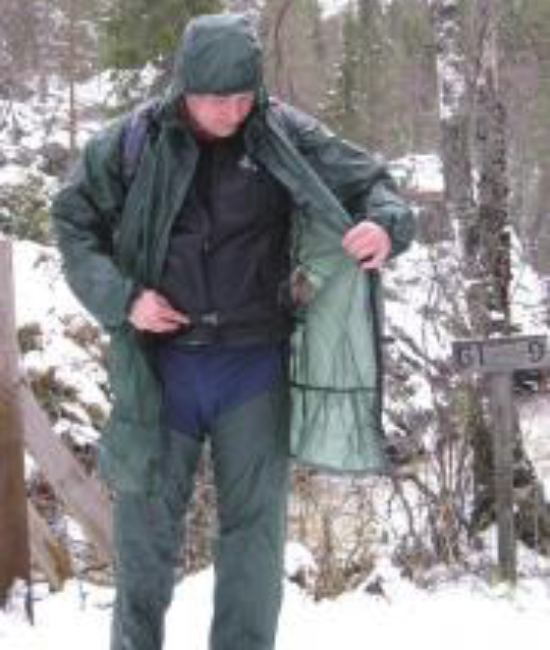
Overall weight

Q 10. How did the overall weight of the garment feel?
The overall weight of garments is defined by the fabric but also the features. Pockets, zippers, reinforcements can add up quickly. If you prefer ultralight gear, then plan these carefully. Weigh a current garment to get a first understanding of what weight you're aiming for. 


Now that we have more detail, let's start designing your piece of garment in Step 3.


Step-by-Step Design Guide- Step 3
  • Step 3

  • In Step 2 you identified and solved some of your garment issues but not all. Now, it's time to get started with the design of your new adventure garment and fill in the missing parts. My tip here is: draw and write down your wish list.
    The Basic Design Guide Sheet (1-pager) assists you with that. This sheet will help you take your thoughts to more concrete action points, and will remind you of what you're working on and your goal throughout your project. Use the Specification list below for inspiration. 

  • In the next Step, you explore potential fabrics, and in Step 5 you can begin turning your thoughts and drawings into an actual pattern. 

  •  

  •  
  • Specification List

  • Inspiration for your drawing and wishlist: 

  • Waistband
            - Elastic: fast to get in and out of the garment
            - Form: higher in the back giving more shape
    Zipper front
    Hand pockets
            - Open
            - Zipper closure
            - Inside pockets: these pockets go in your pants instead of on top

    Thigh pockets
    •         - Zipper closures
              - Cargo pocket with flap
              - Inside pockets
      Equipment loops & hooks
              - For what?
              - Where?
              - How long?
              - Gaiter/shoelace hooks
              - Grip-/ anti-slip elastic around the shoe

  • Reinforcement

        - Butt
        - Knee
Thightenings
        - Flap with a hook & loop, or a button
        - Cording inside
        - Elastic
Zipper types 
       - Closed zippers
       - By-the-meter zippers
       - One-way / two-way / multible-way / X-O openings
       - Reverse side up

Step 4

Fabric

Now it's time to think about the fabric. Again question yourself if you'd like: 
- Softshell or Hardshell
- Wind - and/or waterproof
- Breathability
- Wind - and/or water resistant
- Durability/ abrasion resistant
- Warming and insulating

More basic information and word explanations are found here.

  •  
Reinforcements

Reinforcements are another layer of fabric on top of the main fabric to provide an extra protection of your body and garment. This layer could be different to the other fabric in your garment and can be water-/windproof and / or an abrasion resistant durable fabric like Kevlar® or Keprotec®.

  • Design seams
  • Design seams allow you to play around with color and texture. Instead of being on top of the main fabric like reinforcements, they are sewed as part of the main fabric. Make sure you use a fabric as similar to the main fabric as possible.

Step 5

Pattern & Realisation of your garment

While finding the exact pattern for your idea will be very difficult, we can assist you. Using our visualization tool and your design notes, complete your creation. This pattern will not only be customized to your idea, but also your size. The matching sewing instructions follow your design and assure straightforward sewing. Should you want further guidance, we are here to help. Check out the tutorial pages or sign up for  courses and workshops.

The designs and patterns come with fabric recommendations to ensure a good fit, so no prototyping necessary, and are preferred by most people. You can find more inspiration of different projects in the ADVENTURE GALLERY.

Design Guide - Inspiration

Related Tutorial